Let the finished project guide the choice
The best board for a painted utility shelf may not be the best board for a clear-finished tabletop. Start with the project’s dimensions, intended setting and finish. Will the wood be indoors or exposed to weather? Will its grain be visible? Does the plan specify a species, grade or structural rating?
Follow those specifications rather than treating every board of the same size as interchangeable. For load-bearing work, use the required graded material and suitable guidance; appearance alone cannot tell you whether a board is appropriate.
Check the actual size
Lumber labels and finished dimensions are not always the same. A nominal size is a naming convention, not a promise that the board measures exactly that size. Bring a tape measure and check the actual thickness and width before you commit to a cutting list.
Also look at how the wood is sold. Rough stock may need flattening and thicknessing, which takes away material and requires equipment. Surfaced stock is often a simpler starting point when your workspace is small.
Sight down the board
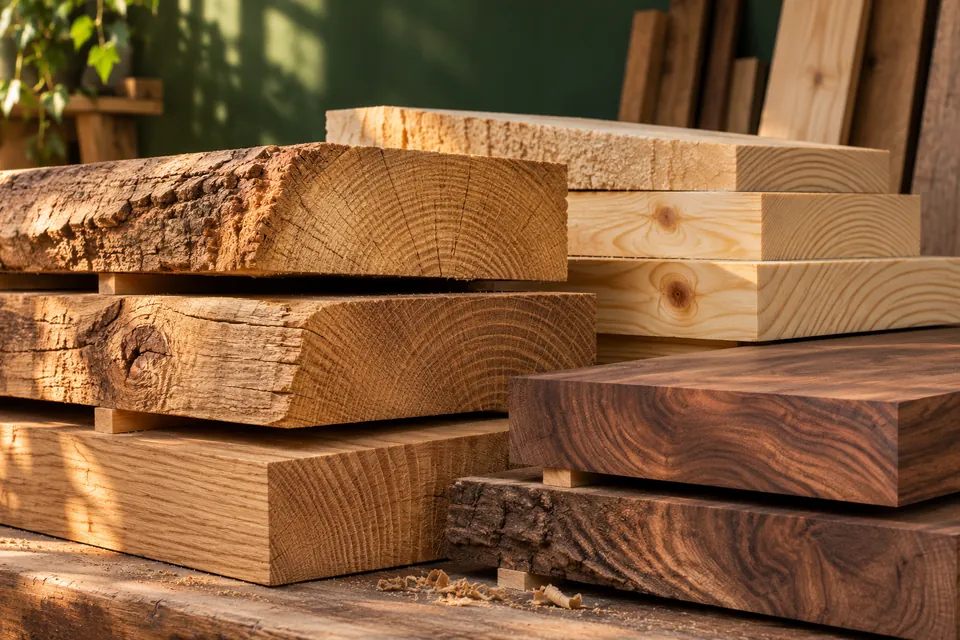
Lift one end carefully and look along the length. Check for bow, where the board curves along its face; crook, where an edge curves; and twist, where the corners do not sit in the same plane. Look across the width for cupping.
A small defect might be manageable if you only need short pieces, but buying a straighter board can save considerable frustration. Set boards on a known flat support where possible, and return unwanted boards safely to the rack.
Read knots, cracks and grain
Knots can be attractive, but their location matters. A large knot near a narrow part or planned joint can make the piece difficult to cut, fasten or finish. Avoid loose knots and inspect the ends for splits that run farther into the board than they first appear.
Sketch your parts over the board in your head. Can you place important joints in clear wood? Can you keep a visible grain pattern continuous? You are buying useful parts, not merely total length.
Ask about moisture and storage
Wood exchanges moisture with its surroundings and can change dimensions as conditions change. Ask how the lumber has been dried and stored, and choose material appropriate for the project. A moisture meter can help when used correctly with the relevant species settings, but a single reading does not explain the whole board.
Store boards supported, with suitable airflow, in conditions appropriate for the eventual project before final machining. There is no universal acclimation time: starting moisture, board thickness and the environment all matter.
Buy thoughtfully and keep notes
Lay out a cutting plan that accounts for saw kerfs, trimming damaged ends and matching visible pieces. An allowance for mistakes is useful, but it should come from the actual layout rather than an arbitrary pile of spare boards.
Record the species, source and actual dimensions. Keep a small offcut for testing glue, stain or finish. That tiny sample can prevent an expensive surprise after the final assembly.
A note from the workbench
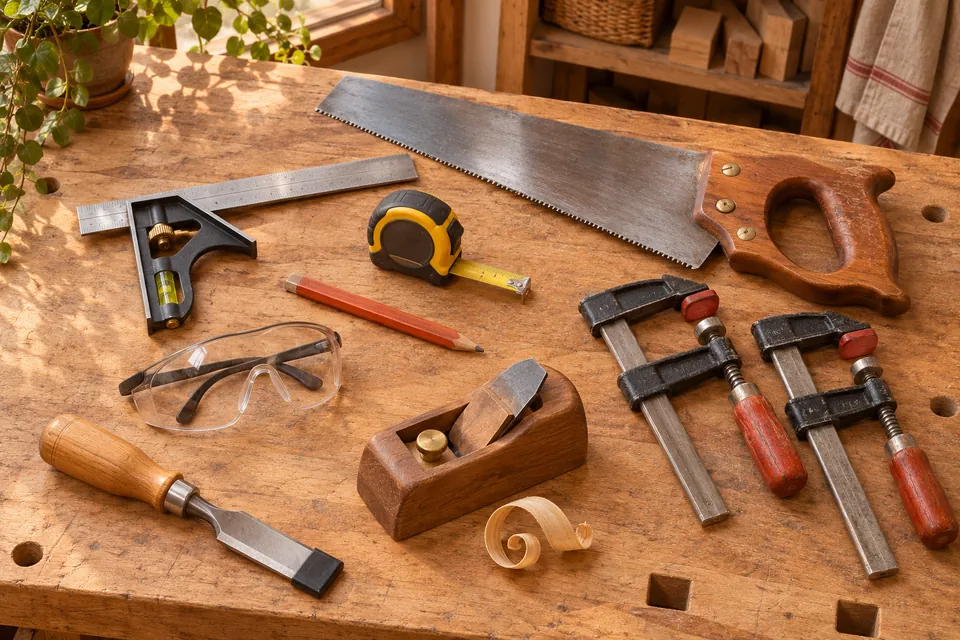
Take your cutting list, tape measure and pencil to the lumber yard. Ask staff before moving heavy boards or pulling stock from a high rack.
Original sample editorial content prepared for this starter website. Review for your audience and project before publication. Images are original AI-generated editorial illustrations, not project build documentation. Always follow product instructions and seek qualified help for work beyond your skills.