Start with a project, not a shopping list
A well-equipped workshop can begin with a very small collection of tools. The useful question is not “What does a woodworker own?” but “What will this project ask me to do?” A simple box, shelf or planter usually involves measuring, marking, cutting, holding pieces together and smoothing the surface. Buy for those jobs first.
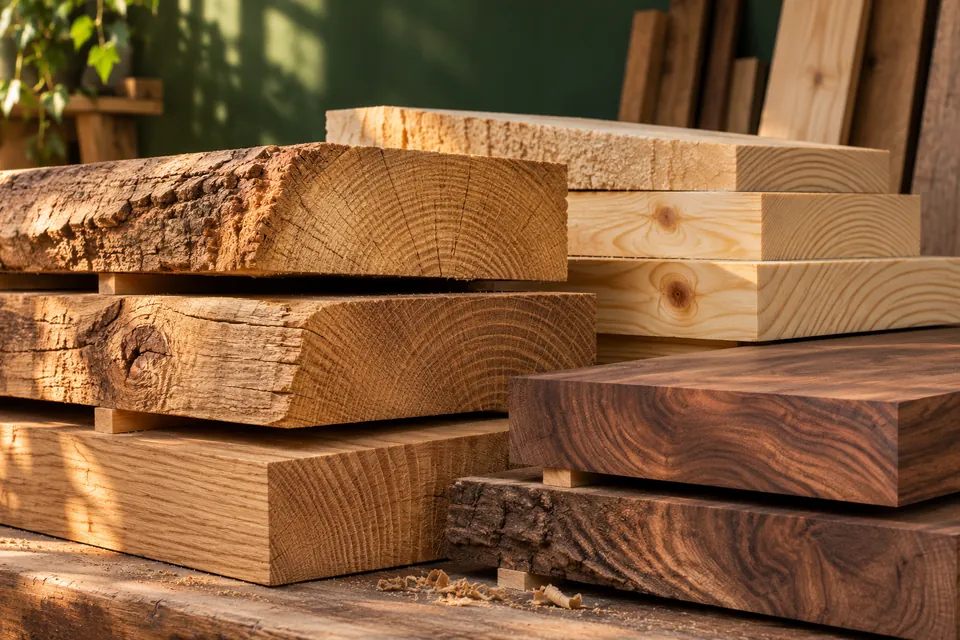
Choose a modest first project with a clear cutting list. Read it all the way through before you buy anything. You may find that a lumber supplier can make the first rough cuts for you, leaving a much more manageable job at home.
Measure and mark with care
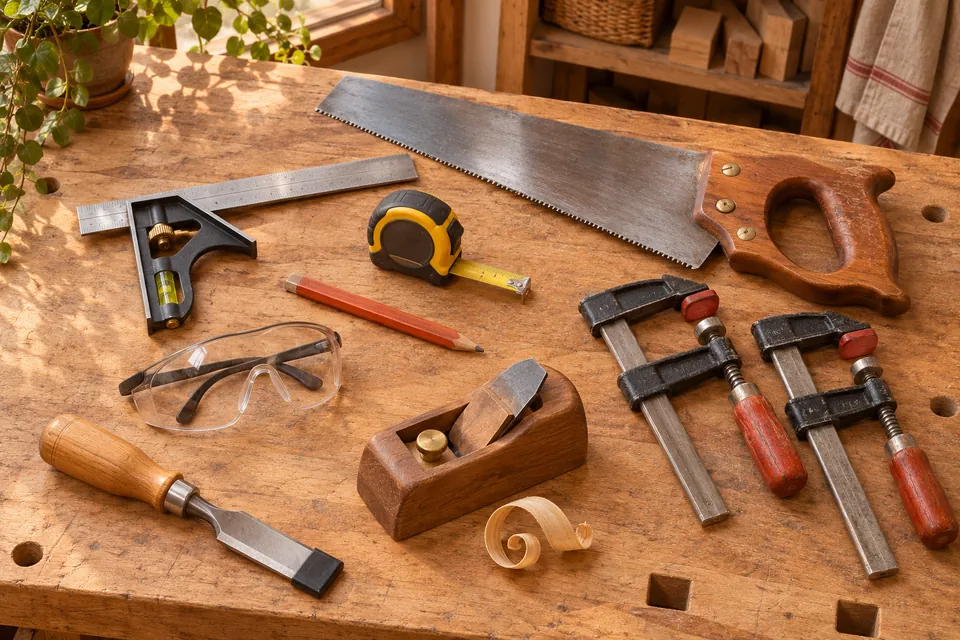
A readable tape measure, a sharp pencil and a combination square make a dependable starting set. Use the tape for overall dimensions and the square for drawing lines across a board and checking right angles. A thin pencil line is easier to work to than a broad mark.
Measure from one consistent reference edge. Mark which side of the line is waste before cutting; the saw blade removes a strip of material. If two pieces must match, compare them directly as well as checking their measurements.
Choose a saw you can control
A hand saw is a useful, relatively quiet way to learn how grain and cutting direction affect a piece of wood. Different tooth patterns suit different jobs, so choose a saw intended for the cuts in your plan. A powered saw can speed up repetitive work, but it also brings setup, guarding and dust-control requirements.
Support the work securely, keep your hands out of the cutting path and follow the tool manufacturer’s instructions. Do not hold a loose board in one hand while cutting it with the other. If a setup feels awkward, stop and change the setup.
Let clamps do the holding
A pair of clamps is more useful than a spare hand. Clamps help hold a board to a stable work surface and keep joints aligned while glue cures. Choose a capacity that fits the project, and use scrap-wood pads to avoid denting a finished face.
Try a dry assembly before applying glue. Check that every part fits, that the clamps can reach and that you have room to check the assembly for square. Tighten evenly; excessive force can distort the work instead of improving the joint.
Drill, fasten and smooth
A drill/driver, suitable bits and screws specified by your plan cover many beginner jobs. Practice on a scrap from the same board so you can judge the pilot hole and screw position. Keep the work clamped and stop if a screw is splitting the wood or forcing a joint out of alignment.
For finishing, start with a sanding block and abrasive suitable for the surface. Work through grits only as needed, keeping the block flat so edges stay crisp. Remove dust before inspecting the result in angled light.
Make room for protection
Eye protection, suitable hearing protection when needed and dust control belong on the first shopping list. Match respiratory protection to the material and task, and follow the tool and finish instructions. Keep the workspace bright and clear, and disconnect power before adjustments or blade changes.
Your first toolkit is successful when it lets you work comfortably and repeat a good result. Add specialist tools when a real project calls for them—not because an empty hook on the wall needs filling.
A note from the workbench
Before buying a new tool, borrow or try one through a local class or tool library where available. A comfortable grip and clear controls matter more than a long feature list.
Original sample editorial content prepared for this starter website. Review for your audience and project before publication. Images are original AI-generated editorial illustrations, not project build documentation. Always follow product instructions and seek qualified help for work beyond your skills.